Hair Crimper – Crimp Your Hair Step By Step Full Guide
Fashion keeps maintaining the change, but style remains in the same place. Every few years, you experience new trendy fashion statements. And this year, in 2021, 90s wild curls and weaves are back in the fashion world. But instead of only curling iron and tongs, the hair crimper is a more convenient tool to get the look.
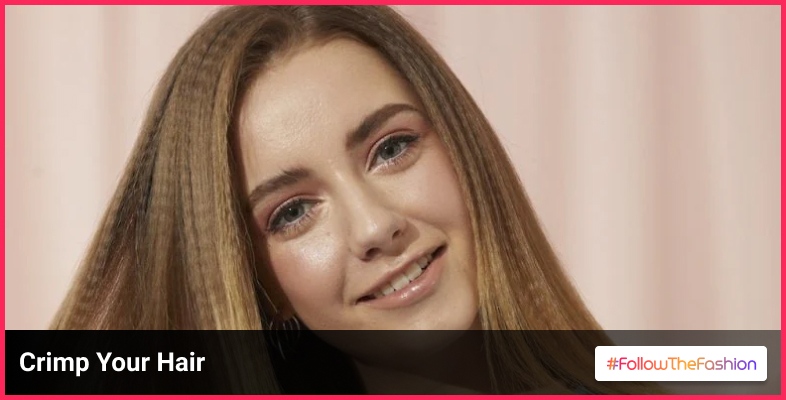
Curls, weaves, and crimped hair look entirely different. Crimped hair gives you a very soft subtle look. For the best result, a face-framing crimped hairstyle is the perfect red carpet look.
How to achieve this crimped hair look? First, let’s look at the steps to achieve these looks with the hair crimper tool.
Use The Crimper To Crimp Your Hair

The hair crimper tools are the best tool to achieve the crimping effects on your straight hair. Just pick the small section of your hair and then use this heating tool and achieve the look. The small heating wounds are going to do the magic. Within a few minutes, you will get nice face-framing light wavy hairs.
Here is the step-by-step guide. Read it and know how to use the crimper for your hair?
Step 1: Clean Your Hair

A hair crimper is a heating tool you have to start your process with clean hair. The heating tool used on dirty hair can cause hair fall and breakages.
Apply the shampoo and deep conditioning conditioner before applying the hair crimper. The exact usages of the shampoo and the conditioners will hold the moisturized balance of the hair during the process. And give you a nice glossy light wavy hair finish.
Step 2: Detangle Your Hair

Before using any products on your hair, detangle your hair with a wide-tooth comb. If you have curly and rough hair like me, you also can apply some detangling serum. For best results, make sure that every product you are using all has heat protecting factors.
Hair crimper use on knotty hair does not give you the desired result. So before selecting any products, you have to detangle your hair first. Make it use that all your hair is knot-free, and there is no sign of any tangle. Then I can guarantee that you will get your desired sweet princess weaves after using the crimper or wave wand.
Step 3: Blow Dry Hair

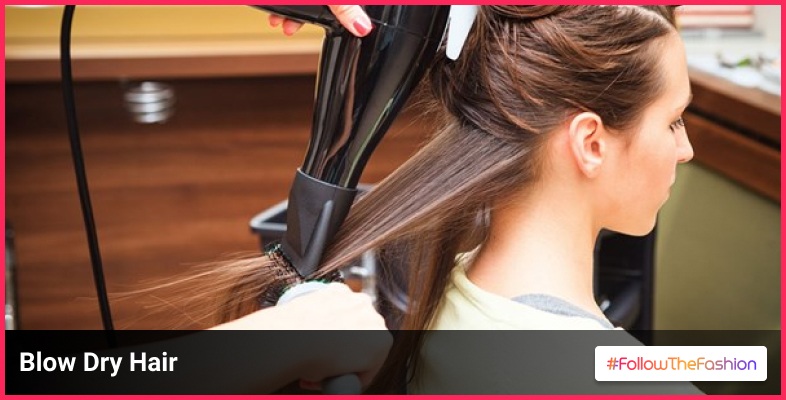
For using the hair crimper tool, you have to apply the tool to dry hair. Wet or semi-dry hair is not going to give you your desired result. And any small amount of water on your hair can be the cause of hair damage. Even your hair strands can fry out due to the water’s presence.
Use the blow dryer and dry your hair before the process. With style, you also have to maintain your hair’s health. For that, you can use the cold air hair dryer and dry out your washed air thoroughly.
Step 4: Use The Heat Protector

Do not ever forget to use the heat protection spray before using any heating tools. For example, during the straightening and curling, you are using the heat protection spray. But when you are using the hair crimper tool, you have to be much more conscious about the heat protections.
Hence all the straightening tools are constantly moving on your hair surfaces. So there are very few chances of damage. But when you are using the hair crimper curling iron, you have to spray the heat protection spray thoroughly. The crimper needs more time to give your hair a nice wavy look.
Step 5: Section The Hair

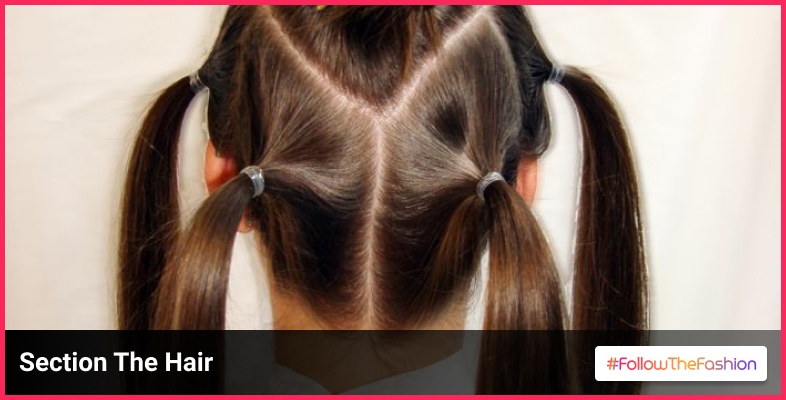
Separate your whole hair into small sections before applying the hair crimper heating tool. For the medium or long length of hair, you have to do at least six sections. But sectioning numbers are entirely depending upon the thickness and length of your hair.
You can use the sectioning clips to hold the hair bunches in place. But again, detangle is required. Are you a person like me who has rough, puffy, and frizzy hair? Then you have to make some extra effort. And after the sectioning, you have to repeat the detangling combining process.
Step 6: Use The Crimper

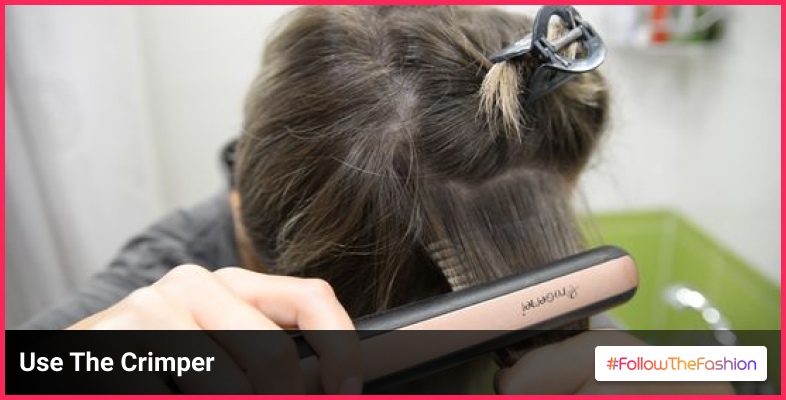
At last, every required step is complete for the hair protection and preparing process. Now you can proceed to the final stage. Use the small sections of your hair, and then apply the hair crimper. Keep patient. It is not like the straightener or curling wand. You have to hold the crimp on your hair.
The correct procedure for using the crimping tools is to follow your hair’s length. Start from your head, then go down. The applications on the small sections give you an adorable, subtle wavy hair look.
Do Crimp Your Hair Without The Crimper

Want to achieve the crimping wavy hair look? But do not have the crimping tool?
Here is the solution for you. I have all the solutions for fashion-conscious ladies. Just follow out tips and get a nice crimped hair with an overnight process.
Step 1: Again, Start With Clean Hair
The hair crimper used is compulsory for wavy hair. This is not the right concept. However, you can do some simple braiding and achieve the crimping hair look.
Yes! It is true this is an overnight process. Just start the process with a clean hair base.,
Step 2: Air Dry Your hair
Air dry your hair, and after the hair washes, you have to use the leave-in conditioning products for the best result.
Use the product on the length of your hair when it is still 20% wet. These hydrated leave-in conditioners or serums keep your strands soft and tangle-free.
Step 3: Create The Strong Braids
The tight top to tip french braid is going to give you a crimping look. If you can not construct the french braids, try on the classic three strands braids. But keep maintaining the tight bonds.
Use a small black or transparent elastic hair tie at the end. After finishing your braid apply some light mist hair spray to hold the braids in place.
Step 4: Sleep Overnight
Now your hair is ready. Just take a nice good night’s sleep to achieve the wavy hair look. You also can put on a silk cap to protect your hair from the pillow.
Step 5: Release Your Braids, And You Are Having Your Crimping Hair
Now you will see the magic in the morning. You successfully complete the whole process without the hair crimper. For the final result, carefully release your braids. Then spray some moisture on the hair and do not comb your hair.
FAQ (Frequently Asked Questions)

1. Do Professional Crimpers Damage Your Hair?
Hair crimpers are not a heat-free tool. As a result, these are not also damage-free tools. But you can control the damage rate of your hair. Before using the hair crimper, always apply the right amount of heat protection sprays on your hair. Then apply the crimpers on your hair.
2. Do You Have To Use The Straightener Before Crimping?
Not really. For achieving the perfect crimping hair look, you can straighten your hair. But this is not a copulatory step. Instead, use the crimper on the dry hair. For curly and wavy hairs during the time of hair drying, you can straighten your hair with round or paddle brushes.
3. Which Are The Best Hair Crimpers In The Market?
Here are the names of the five best hair crimpers in the market:
- Aleath 3 Barrel Curling Iron Wand Dual Voltage Hair Crimper.
- Gold N Hot Professional Ceramic Crimping Iron.
- MBhair Ceramic Tourmaline Triple Barrels Fluffy Hair Crimper.
- REVLON Ceramic Hair Waver Tool.
- Bed Head Makin Hair Waver Tool.
Conclusion
Hair crimper using very many options. But when you want to achieve a perfect kind of party wavy hair look, you must use the crimper. Hence for the beach hair wave look, you are overnight sleep techniques going to do all the magic for your hair. So, what procedures are you following? Do not forget to share your wavy hair tips in the comment sections.
Read Also:


